Payoneer is a digital payment platform that offers you quick and secure payments internationally. When you have a valid Payoneer account, you will be able to send money across to different countries, say 150, and receive money as well from them without experiencing any form of stress.
In this article, a step by step process on how to create a
A Payoneer account will be provided. This works anywhere in the world, so far your country supports it.
What is Payoneer?
Payoneer is a financial services company that operates universally and also offers digital payment services, online money transfers and also gives you the opportunity to receive account numbers in USD, EUR, GBP, and more and also get paid easily, just like in your local bank account.
When you create a Payoneer account, you will be given a virtual account number that is in foreign currency just like you have your local currency, which gives you the opportunity to receive and send funds using your Payoneer e-wallet. Any money you receive into the virtual account numbers can easily be withdrawn into your local bank account directly and can be sent to other platforms that are compatible.
Features Of Payoneer account
Payoneer has so many features and they will be listed here. There are 7 features of Payoneer and all you need to know about each of them are listed below:
1. Eligibility for registration bonus
Payoneer is different from other platforms as they give you the sum of $25 for you to sign up on the platform. This bonus is given to everyone and it will be paid immediately into your Payoneer account as you start making use of the account for payments.
2. It’s completely free
Payments for account creation are not required on the platform. What you need to do is simply follow the registration process that we will talk about in this article, activate your Payoneer account and start making use of it immediately at no extra expense.
3. Send and receive money across the border
This is referred to the basic purpose of the platform.
Across the world, Payoneer is available in over 200 countries having local currencies of 150 and this is one of the many reasons why it is a substitute for PayPal.
4. Get paid in popular currency and withdraw in your local currency
You may be working with someone or a company that pays you in a currency that is different from your local currency. If you are in this situation, calm your nerves because, in no time, you will be able to receive your payment and withdraw it to your local bank with the use of Payoneer.
5. Reduced fee
The fear of high transaction fees is ruled out on the Payoneer platform. With Payoneer, you will be able to pay up to 70% less when compared to the transfers made at no fee that’s hidden.
6. Ability to Simplify your payment
You can sign up as an individual or a company on the Payoneer platform. If you are making use of Payoneer as your company account, you will be able to pay your supplier and also contractors anywhere they may be in the world, straight from your balance in your Payoneer account.
7. 24/7
Payoneer has a 24/7 multilingual support team that is always available to offer assistance and take your questions anytime at all.
How To Create a Payoneer account and get $25 for free
Now that you have understood fully how the Payoneer universal payment platform works, the next thing you have to do is to create your account so you will be able to get access to the options available for you to enjoy the universal payment at the comfort of your home or any environment you may be in.
Simply follow the process below:
- Log on to the Payoneer website
- Once you get to the registration page, you will see a button that reads “Sign Up and earn $25”
- Click on it and they will redirect you to a page where they will ask you to choose the type of account you want to create.
- There are five options available they are Affiliate marketer, Freelancer or SMB, vacation rental Host, online seller, and individual.
- Kindly choose “Individual”. However, if any of the options suit you, you can choose it. But the option recommended as it is in this guide is Individual.
- If you have been asked about the type of account you seek, kindly choose the option that reads “marketplace” or “gets paid by international clients” and then goes to the registration page.
- Provide your legal name, as it is on your identity card.
- Input your email address, date of birth, and then click on the Next button.
- Once your date of birth has been entered, click on the Next button.
- Tap on the drop-down attached to the box made available for the country and select your country.
- Input your address and zip code.
- Next, select your country code and input your phone number.
- Tap on the “send code” button and an OTP will be sent to your phone number.
- Check your text message and input the OTP.
- After you must have correctly entered the OTP, tap on the Next button to go to the next stage of the registration of your Payoneer account.
- In the next stage, they will ask you to set your account security. The stronger your password, the more secured your Payoneer account will be.
- When you get to the ID details section, simply tap on the drop-down button to choose your country and also the one attached to the ID to choose the kind of ID you would like to use to verify your account.
- Solve the captcha by inputting the code shown into the rectangular box provided and then head to the final stage of your Payoneer registration.
Now you have gotten to the last stage of your Payoneer account registration and what you need to provide is a means of getting paid in your own local currency.
The payment details you provide on this page is the one you will be making use of to receive your payment when needed into your local bank.
After filling in your details, agree to the terms and conditions and pricing and fee. Then, click on the”Submit” button.
After clicking on the Submit button, you will receive a notification that reads “your Payoneer account application has been submitted successfully and is now being reviewed”.
Look out for notification in your email about the registration and wait for the review team to approve your account. The review process takes between 12hrs to 7 working days.
How to claim a free $25 registration bonus on Payoneer
To claim your $25 registration reward, what you have to do is to create an account and use it to receive $1000.
This $1000 should not necessarily be a single transaction. The rule is that you will be rewarded with $25 immediately you receive a total amount of $1000 with your Payoneer account.
How to create virtual accounts with Payoneer
Virtual accounts on Payoneer are just like local accounts of different countries and these virtual account can be used to receive money anywhere in the world.
To create virtual accounts, what you have to do is log in to your Payoneer account and you will see the option to create the virtual accounts.
Tap on it to request a virtual account and wait for it to be approved. Immediately your account details will be made available and then payments can be made with the account anywhere you are.
How to Make a Payment on Payoneer
Before you can make a payment transaction on your Payoneer account, you need to follow these steps below;
Log in to your Payoneer account and then click on the “Pay” button from the menu and choose the “Make a Payment” from the drop-down menu.
Further options will be provided for you which include “make a payment” or “pay your VAT“. Click on the make a payment and complete the payments procedure.
How to get paid with Payoneer account
For you to get paid with your Payoneer account, what you need to do is to log in to your account, copy the details of the local bank that matches with the payment you want to receive then give it to the payer.
Payment from your clients can be requested by clicking on Receive. To carry out this task, what you need to do is log in to your Payoneer account, tap on receive and choose the payment option. Your client will receive an email that includes a payment link. Once the client makes the payment, you receive the money into your Payoneer account.
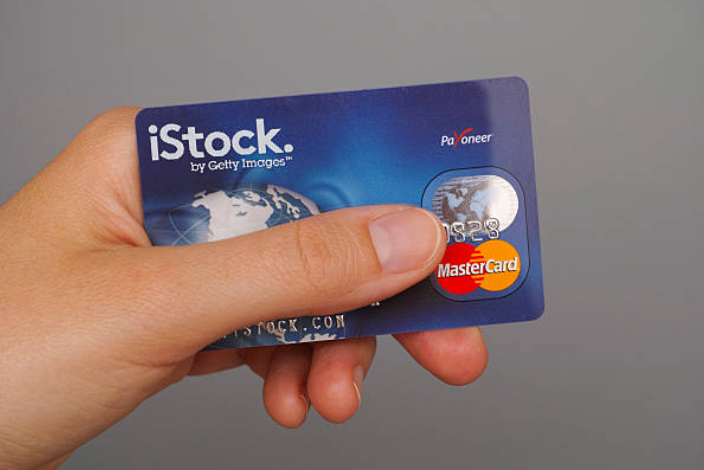
PAYONEER CARD
A Payoneer card is a physical or virtual card that you can link with any currency balance in your Payoneer account.
You can use this card in stores, at ATMs, online, in fact anywhere Mastercard is accepted.
How to request a Payoneer card
You can request a Payoneer card during the process of application or after your online account has been finished, depending on your region.
For you to request a Payoneer card, simply log in to your account and choose “settings” from the menu and then choose “Payoneer cards” from the drop-down menu.
On the new page that pops up, click on “Order Now”. After you have clicked on that, complete the request by following the steps on the screen.
How to check if you’re eligible to request a Payoneer card
If you want to check if you are eligible for a Payoneer card, simply login to your Payment account and head to the menu, choose “Settings” and then select “Payoneer Cards”.
If you receive a message inviting you to Order Now, it means you are eligible. But if not, you will receive a message that states the eligibility requirement.
How to be Eligible for a Payoneer card
For you to be eligible for a Payoneer card, you need to have a minimum of $100 in your payments for over six months that were received in your Payoneer account. The payments should not include payments from e-wallets like Skrill or Paypal.